20/09/16

Tutorial match box

Passo molte ore a creare, con l'aiuto della MS Score Board, scatoline di ogni genere e misura. Così dopo le milk box che io adoro e scatoline quadrate, mi sono dedicata alla creazione di una matchbox, una scatolina rettangolare simile a quella dei fiammiferi.

I spend many hours creating, with the hel of MS scoring board, boxes of all kind and sizes. So, after the milk box that I love, and the squared box, I am dedicated to the creation of match box, a rectangular box.

Ora vi mostro come l'ho realizzata.
Now I show you how I create it.

1) Ho tagliato un cartoncino di 4"1/8 and 8"1/4
    I cut a cardstock 4"1/8 and 8"1/4

2) Ho cordonato a 1", 3"1/2, 4"1/2 e 7"1/8 ed assemblato.
    I slotted in 1", 3"1/2, 4"1/2 e 7"1/8 then I assembled.
3) Per decorare la scatolina, ho poi tagliato  un rettangolo per la parte superiore e due strisce per i due lati, i tre pezzi sono di mezo pollice più piccoli rispetto alla base e ai lati. Ho scelto le meravigliose carte di ModaScrap della collezione My little boy.
For decorating the box, I cut a rectangular for the upper and two stripes for sides, smaller half inch. I opted for the wonderful scrap collection My Little boy - Moda Scrap


4) Per creare il cassettino invece ho tagliato un cartoncino di 4"3/8 * 5"7/8, poi ho cordanato ogni lato ad 1" pollice.
    For internal drawer I cut a cardstock  4"3/8 * 5"7/8, then I slotted every side at 1" inch.
5) Ho tagliato in questo modo i lati per poter assemblare il cassettino.
    I cut in this way the sides for making the drawer.
6) Ho poi stampato su carta scrap l'adorabile elefantino di Tiddly Inks e con una goccia di colla l'ho incollato ad un nastrino blu a pois.
    I printed on scrap paper Tiddly Ink's digi stamp, a lovely elephant and with a drop of glue, I applied to a dark blue ribbon with polka dots.

Questo il risultato finale, spero che il mio primo tutorial sia stato chiaro.
This is the result, I hope that my first tutorial has been clear.
Hugs, Irene


Partecipo alle seguenti sfide:
Tiddly Inks- Anything goes

19/09/16

Wedding pochette

Era da un pò di tempo che avevo in mente di creare qualcosa con il pannolenci, qualcosa che si allontanasse dal mondo dei bambini per approdare a qualcosa di adulto.
Così è nata questa pochette, ribattezzata da me wedding pochette.

It's a been a while that I had in mind to create something with felt, something that leaves the "baby's world" to arrive at the "adult world". And so  I made this clutch, renamed by me wedding pochette.

Penso che sia molto elegante e che, finito il matrimonio, possa essere usato come portamonete o prtaocchiali o porta documenti. Insomma un invito, ma anche un cadeaux.

I think that this pochette is very elegant and then, the pochette can be used by the guests as briefcases, phone or glasses case.
It's a wedding inviation, but also a useful cadeaux...what do you think?


02/09/16

Butterfly wedding!

Ciao a tutti, oggi mi mostro una card di auguri che ho realizzato per una coppia di miei amici.
La struttura è molto semplice, è un quadrato di cartoncino abbellito con le carte e le farfalle della meravigliosa collezione The Promise della First Edition, la card è stata distressata ai bordi, illuminata da un semicerchio di strass e dal romantico timbro digitale The Bride di The Paper Shelter, acquerellato a mano.

Hello everyone, today I show you a wedding card for a couple of my friends. The structure is very simple, is a cardboard square embellished with paper and butterflies of The Promise, First Edition collection. The card was illuminated by a semi-circle of rhinestones and romantic digital stamp The Bride of The Paper Shelter, watercolored by hand.


04/07/16

Wedding Card!

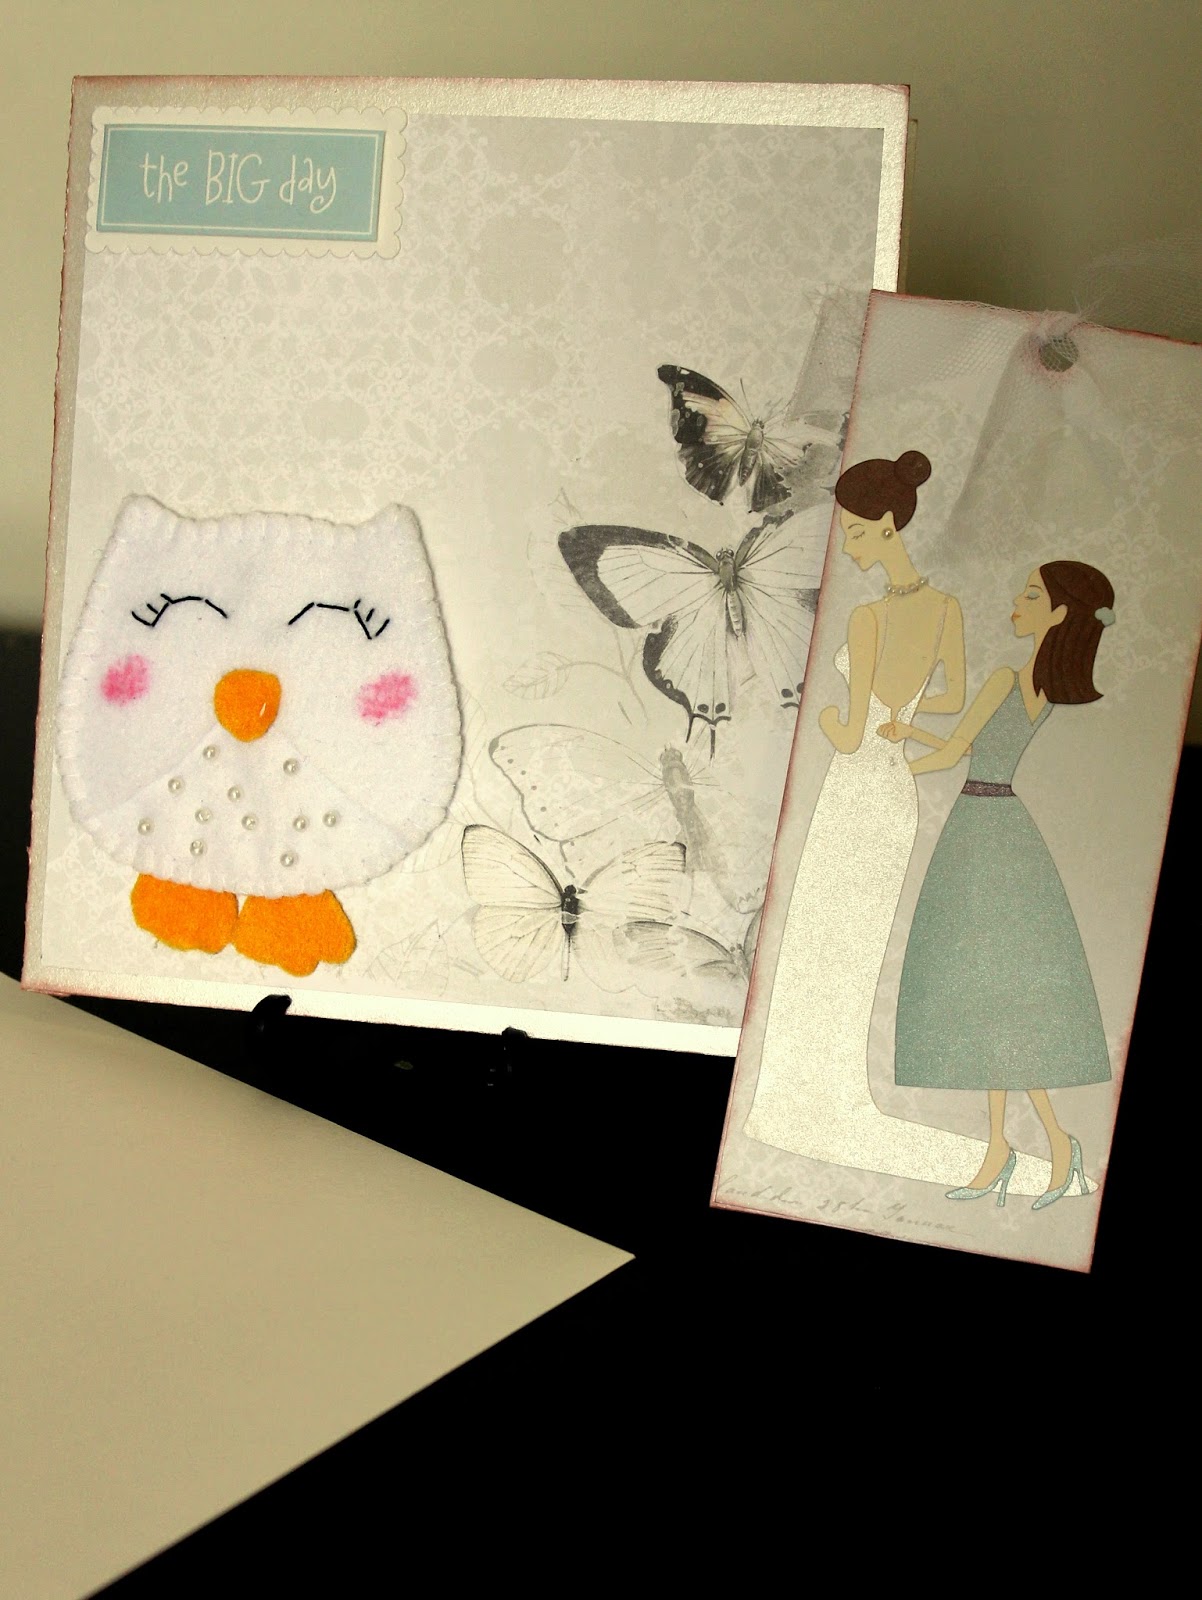
Ecco una card preparata con diversi materiali, un pò per poter mescolare i miei due hobby preferiti: lo scrap ed il cucito creativo.
Una card portasoldi per un matrimonio con taschina e tag interna. Per farla ho usato un cartoncino perlato e le meravigliose carte della First Edition "The Promise". Per la tag del tulle ed uno stickers dolcissimo.
Per i gufi invece ho tagliato e cucito a mano del pannolenci. Sopra lo sposo ho creato anche una finestrella in cui si shakerano dei cuori...vi piace?

Here is a card with different materials, to mix my two favourite hobbies: creative sewing and scrap!
A card for a wedding with internal pocket and tag; I used a pearl card and the beautiful paper of First Edition "The Promise"  . For the tag I used a sweet stickers and tulle.
For the bride and groom owls I cut felt and then I sewn by hand. Above the groom I created a shaker window with many hearts...do you like?


01/07/16

Wedding time!

Tempo di matrimoni...oggi vi mostro quello che ho creato per me nel 2012, anno in cui mi sono sposata e occasione che mi ha fatto scoprire questo mondo che non ho più abbandonato.
Ho usato un cartoncino dall'effetto perlescente, ho embossato a mano con l'aiuto di un bulino e di una mascherina e poi ho decorato con fiorellini e farfalline di una collezione di carte della First Edition. Per un effetto decisamente primaverile (il matrimonio è stato celebrato a fine Aprile).

Wedding time...today I show you my wedding invitation, when I got married I discovere this scrap world that I never had abandoned. I used rectangular cardboard with perlescent effect, I embossed by hand with the help of a chisel and the mask. Then I decorated with flowers and butterfly from paper collection's First Edition. For a springly effect (the wedding was celebrate in late April).

My wedding invitation!


16/06/16

Mini Album "Happy Birthday"

Ecco la mia ultima fatica, un mini album che conterrà circa 20 foto del primo compleanno di un bambino bellissimo e dolcissimo.
E' la prima volta che assemblo un album con questa struttura, ho seguito principalmente l'ottimo tutorial di mirtillamente su YouTube. L'album contiene 5 pagine e sono tutte con le tasche interne, come vedrete dalle foto.
Ho utilizzato, per la realizzazione della copertina del cartoncino pressato, carta da pacchi color kraft e cartoncino bristol, per la base delle pagine il cartoncino bristol e per le carte scrap invece ho optato per la bellissima collezione di ModaScrap "My little Boy", più alcuni fogli della collezione Basics Folia di Opitec.
Inserirò personalmente le foto che ho scattato con la mia reflex il giorno del compleanno, aggiungendo qualche scritta e qualche abbellimento.

Here's my latest work, a mini album that will count about 20 pictures of the first birthday of a beautiful and sweet baby! It's the first time that I realize an album with this structure, I followed mainly the excellent mirtillamente's tutorial  on YouTube. The album contains five pages and are all with inside pockets as you will see from the photos.
I used for the cover three cardboard, wrappin kraft paper and Bristol board, for the scrap paper I opted for the ModaScrap's beautiful collection "My little Boy", some papers from Opitec's collection.


Con questo mini partecipo alle sfide:
craftyribbonschallenge
whiff-of-joy-challenge
artinallround
craftyourpassionchallenges
tuttoquantodiventascrap

13/06/16

Felt banner for new borns

Vi mostro alcuni banner creati completamente a mano con il pannolenci e cuciti con punto festone. Vi piacciono?
I show you someone felt banners for a new borns! One for Enea with a sailing ship, a treasure and a pirate; for Gabriele a marine banner with some animals and at last the frog Prince and the Princess Tiana for a little Zoe.
You like them?

Per Enea ho scelto un veliero, un  pirata ed un tesoriere
Per Gabriele invece ho scelto un sub alla scoperta degli animali marini

Per Zoe ho cucito il principe Ranocchio e la Principessa Tiana